


The Pigsty Hill Light Railway -
Building the Bucolic Coach
The Very Small Garden Railway
Building the Bucolic Coach, PHLR Vehicle No. 4
WARNING: This coach uses an LGB underframe -
Large Gurt Big equipment, read no further!
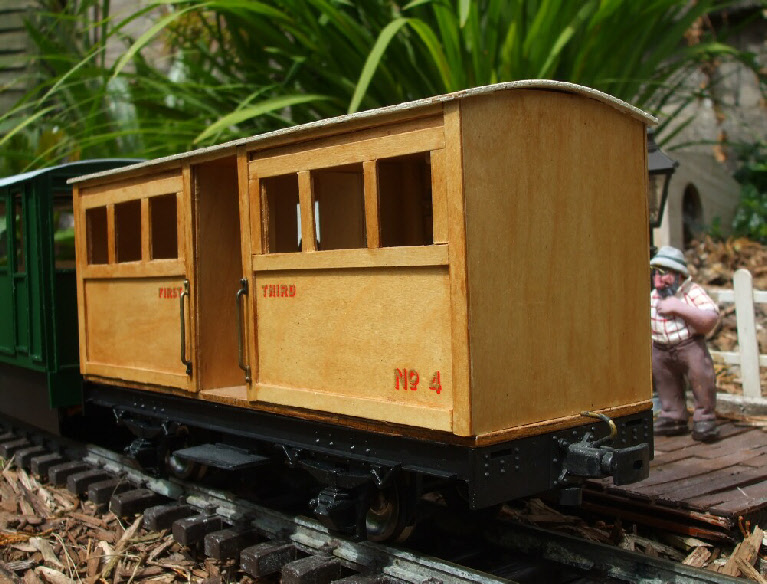
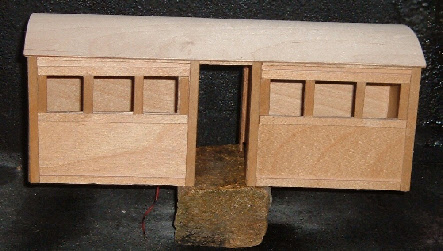
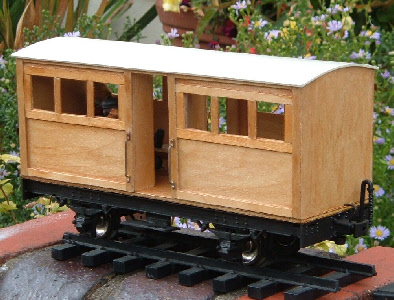
The completed beast
Tools
The only tools used in this project were a 30cm steel rule, a large plastic craft
knife with a supply of snap-
I cut out the parts on one of those green rubbery cutting sheets marked with a centimetre grid; you’ll see what I mean from the photos. I also used it to square up the parts during assembly. It wasn’t necessary, but made life very much easier. Mine fits neatly into a little chipboard tray with rubber feet so I can carry my work anywhere in the house.
Materials
I got my wood from the hardware store – sheets of plywood 1.5mm and 3mm thick and lengths of 12mm x 6mm and 6mm x 6mm strip. I would emphasise that these dimensions aren’t critical. It pays, though, to us the thinnest you can get for the sides and roof, because it’s that much easier to cut. I used Evostick weatherproof wood adhesive, as I do for all my wooden models.
The bought-
- Four Brandbright RSA61 long handrails, which I had in stock (I originally was going to make these from brass rod).
- Two 3.5V grain of wheat bulbs, bought from the model shop years ago.
- A 2 x AAA battery holder from Maplins with rechargeable cells and some spare connecting wire.
- Some small screws found lurking in my things box.
Design
The coach was going to be very loosely based on the eight-
Because of the constraints imposed by the curves of the PHLR, it would be shortened to six windows per side, with the length determined by the available chassis, and the loading gauge would be reduced to that of the railway’s existing stock.
I wanted the beast to be lit, as I enjoy night running, and have a self-
Now, apart from the roof, your standard coach body is basically a rectangular box with holes cut out for windows and doors and strips of wood stuck on for decoration. This one is slightly more complicated, because of the centre vestibules, but it’s still just two boxes with a common flat roof. It’s designed so that the base, made of the thicker ply, is separate and held to the main body by small screws. The chassis will be screwed to the base, so the whole thing can be disassembled.
The method of construction owes much to Brandbright and IP kits, and certain features of the design are inspired by Nicola Ratnett’s excellent tropical coaches. As they say "To steal from one author is plagiarism, from many, research".
More seriously, I would recommend any modellers thinking of building their own stock to construct a kit first. Once you see how the kit fits together, you’ll be much better equipped to design and build your own. This is NOT a mandate to copy someone else’s kit – the idea is to learn from the masters and to add your own inspiration.
I used nothing more complicated than Microsoft Paint to play with sizes and proportions, and produced a pattern for the sides. From this I derived drawings for the roof, floor, ends and vestibule sides.
To see and download drawings for the coach click Bucolic Coach Drawings
A false roof would hold the lights, with wiring between this and the visible roof, taken down to battery holder under the base by concealed wires. The 3.5V bulbs would be wired in parallel and fed by two rechargeable cells. This gives a nice dim light and should ensure a very long life for the bulbs.
Rectangular false ends would be used to hold the boxes together and fully-
Construction
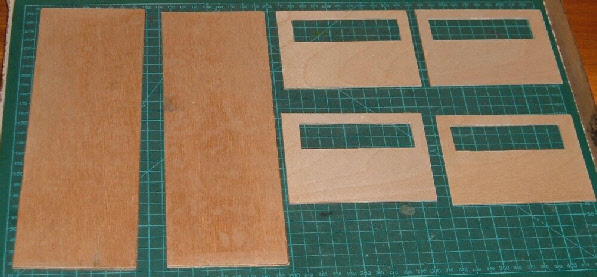
The parts were marked out using the patterns from the design.
The roof, false roof, sides, ends, false ends, and partitions were cut out from thin
ply using a craft knife. The three window openings were cut out as a single hole
– frames will be added later. Cutting thin ply is only marginally more difficult
than cutting cardboard if (and I can’t emphasise this too strongly) you snap off
the blade as soon as it shows ANY signs of wear. It’s worth buying a box of spare
blades before you start, to avoid this temptation. It’s also a good idea to have
a secure container for the snapped-
The base was also cut from thicker ply. This needs patience rather than brute force and ignorance, but can still be done quite adequately with the craft knife.
Four lengths of 6 x 6mm strip were cut to length to reinforce the join between sides and vestibule sides, four for the sides and floor, and two for the roof and false ends.
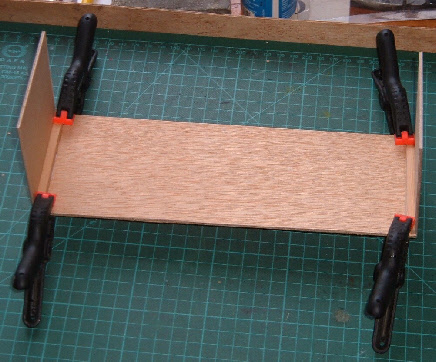
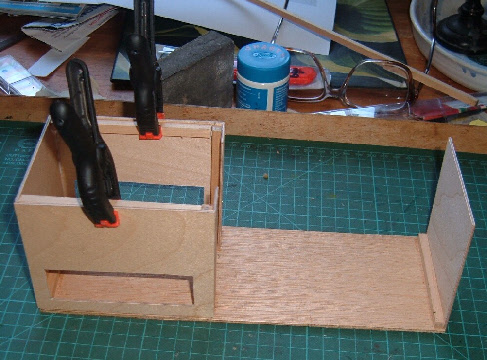
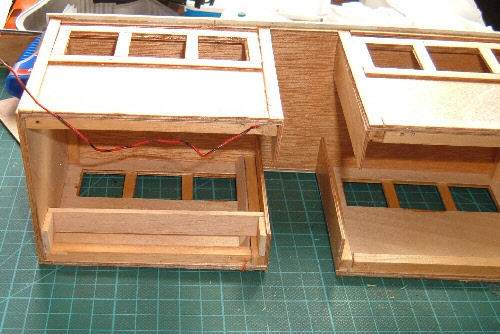
Sides, false roof and base
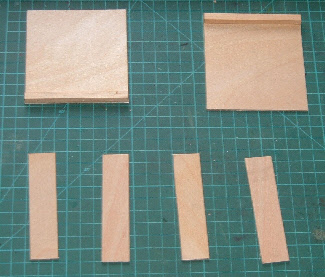
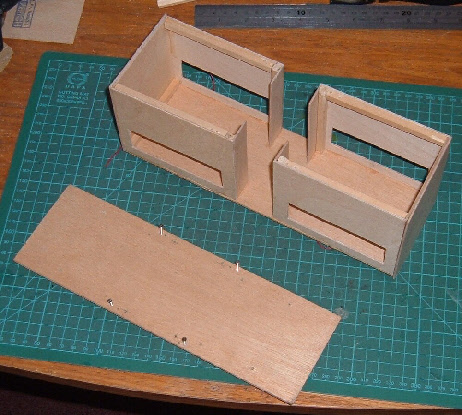
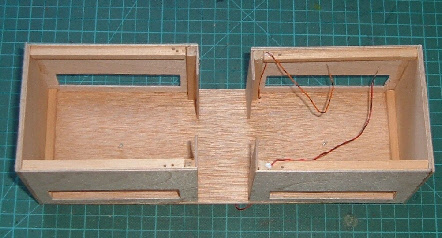
Partitions and inner ends (with reinforcement)
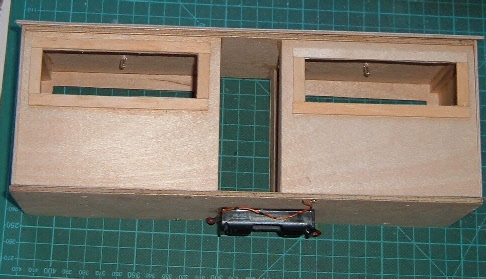
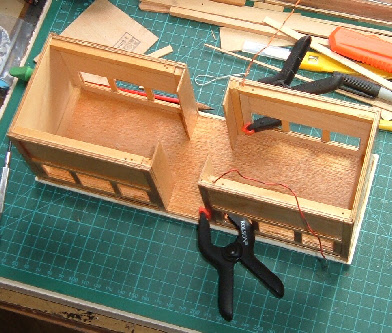
False roof and inner ends
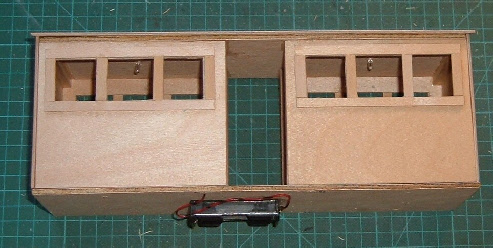
Half sides and partitions added
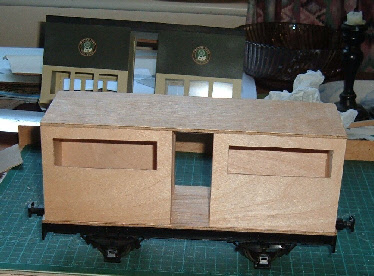
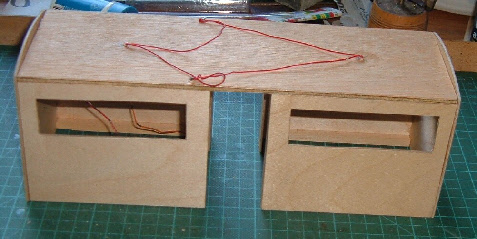
The basic box placed on the chassis to check alignment
(note the cardboard prototype)

Detail showing the fixing of the chassis to the floor
Detail showing the fixing of the floor to the basic box
The outer ends were glued to the inner ends. The grain of wheat
bulbs were fixed into the false roof and the wiring added,
leaving trailing leads inside two of the vestibule corners
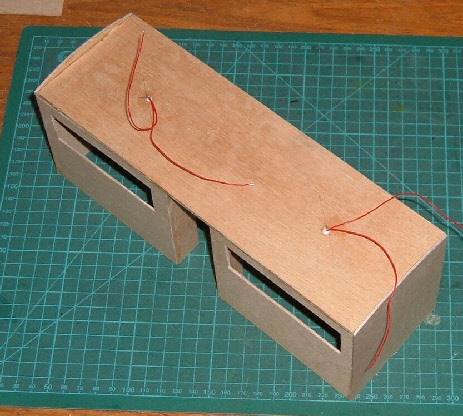
The bulbs were wired in parallel and the leads passed through
holes drilled in the false roof
The leads were passed through holes
drilled in the reinforcement of the sides
A roof ridge was added to ensure that the roof fitted neatly

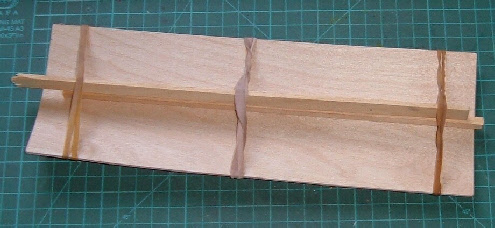
The roof was then "Rogered"
“Rogering” is done by holding it to shape with rubber bands and cooking it in the microwave for 45 seconds on a high setting. The glue between the plies softens and the roof takes up a permanent curve.
The roof was then glued to the body *
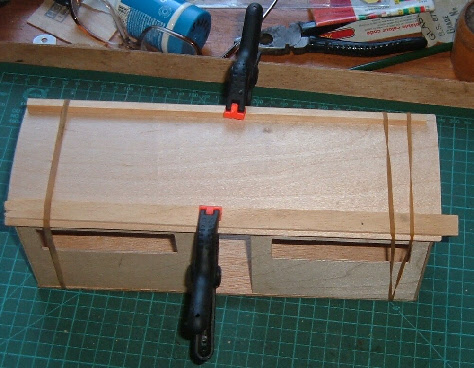
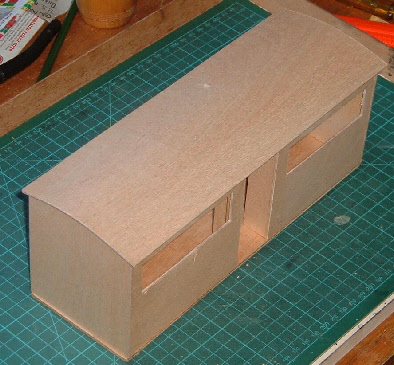
Beginning to look like a coach!
* Note the strips of wood to ensure smooth contact with the sides – these will eventually be used to make the seats. Am I a cheapskate or what?
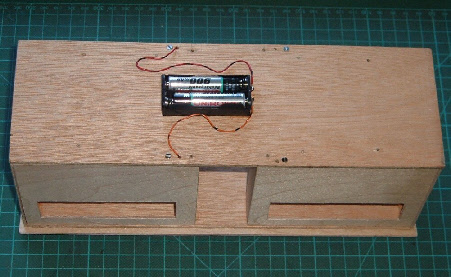
I then drilled the base and the body to take four screws to hold them
together, stuck the battery holder to the base, and wired in the lights *
The next step was to stick on the beading,
which would also form the window frames.
* Note that there is no switch. If I want the lights on I insert the cells; if not, I don’t.
Now, any sensible person would have a several metres of 6mm x 1.5mm wood to hand, or at least start at a sensible time when the model shops were open. I had to cut all mine from 1.5mm sheet; this is not recommended practice.
Window frames in place
The completed body after its first coats of varnish
I sprayed the completed beast with polyurethane satin varnish. You will notice that I sprayed the roof as well, although this will eventually be painted white. This is simply for extra strength.
The body masked and the roof painted with car spray

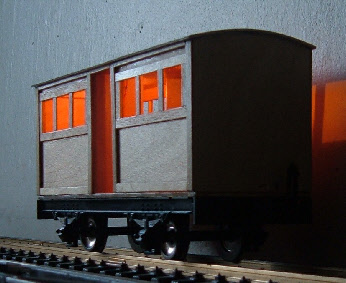
Test of the lighting -
The next step was to paint the body with teak coloured varnish, brushing along the grain, and
to hide the wiring with diagonally-
…and fit rude benches made from 12 x 6mm wood strip
I added Brandbright grab handles and a simple pair of wooden steps glued to the chassis.
I also painted the chassis matt black with acrylic paint to hide the horrible shiny LGB plastic
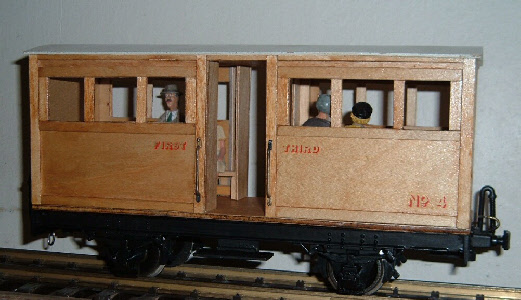
The completed beast with Glyn Valley Tramway transfers
by Tenmille (again from my things box), protected by
an extra coat of satin varnish
NOTE: This page is based on an article I wrote for Garden Rail magazine. See Garden Rail Index to find my articles