


The Pigsty Hill Light Railway -
The Coffee-
After some effort, I managed to get hold of a Brandbright steam tram to replace the
one that I had so ill-
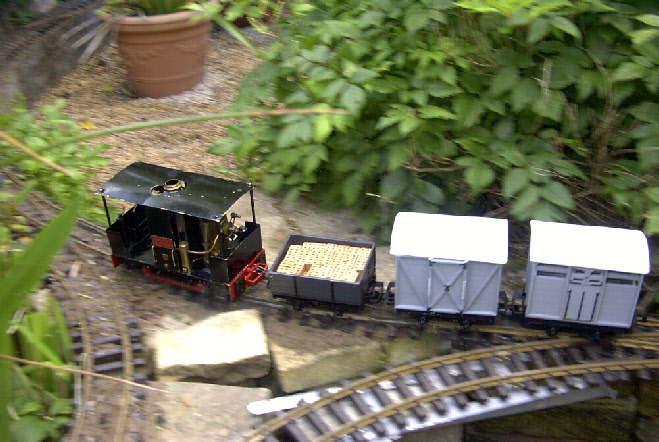
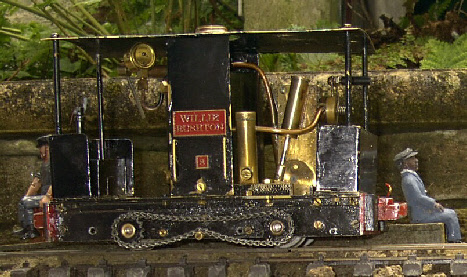
The panned photograph gives a misleading impression of speed -
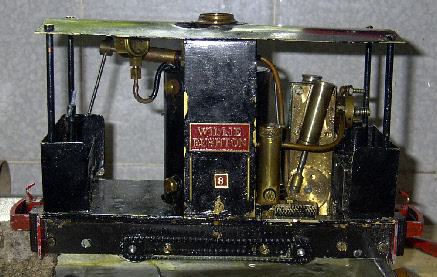
The steam tram was given the new running number 8 and named "Willie Rushton" after a great comedian and very likeable man.
It was originally intended that it should run under radio control and this was added, but later removed when the PHLR was extended to allow for manual steam running. The method is described here, just to show how small a space is needed.
The design of the loco leaves a space between the frames at both ends, just sufficient
for a radio control receiver and a 4 x AA battery pack. U-
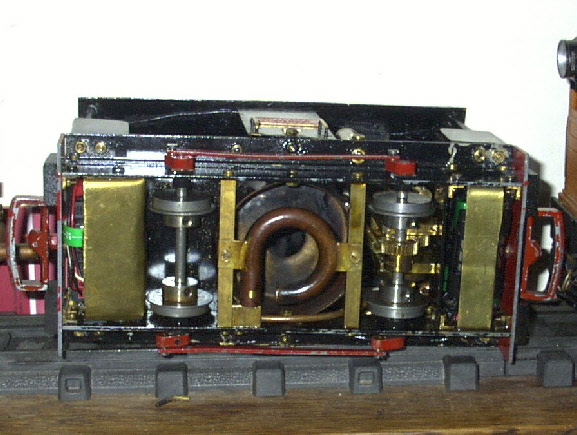
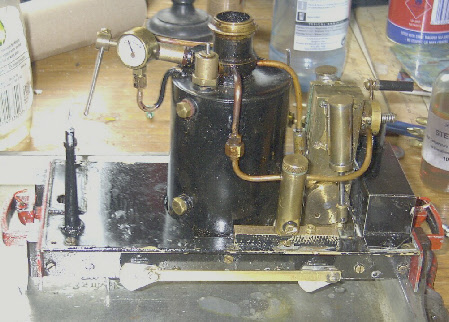
I decided to control just the reverser, and this proved to be a wise move, as the loco is controllable enough by this method. A bracket* was made out of a piece of scrap brass sheet to hold the servo firmly between the roof and the motor block. The operating lever was removed from the reversing block and replaced with a cunning device made out of thick wire which held a bolt, on which was pivoted the wire connected to the servo arm. The picture should make this rather less opaque.
* The simple bracket in the picture was replaced by a much more sophisticated item after the photo was taken.
As I said, the radio control was stripped out after I modified the railway so, was it worth it? Yes, in the sense that I'm a lot more confident in my bodgelling now and that, having made those changes, I'm prepared for more radical surgery in the future.
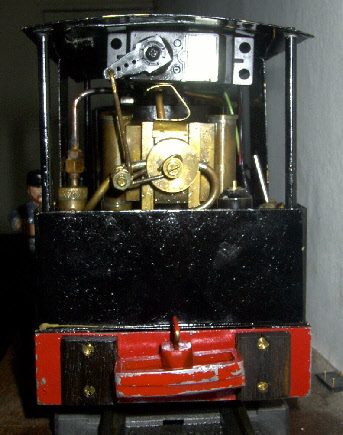
I've already raised the lubricator slightly to improve the oil flow and bodged a
solid brass fitting to hold it clear of the footplate (and had to re-
Well, so much for plans!
It was an irritant that the wheels were uninsulated, which meant I couldn't use
the station lighting while this loco was on the track, so I asked on the 16-
I stripped the beast down to change the wheels, and finding that the running gear was very worn, decided that the time had come to replace it. I experimented with Delrin (plastic) chain drive, which worked well and looked good. I also tried Meccano metal chain drive which, perhaps surprisingly, was less effective.
However, I was rather taken with an Australian Coffee-
Now I decided to re-
The name and number plates were re-
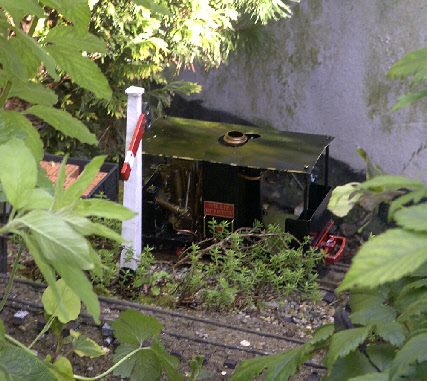
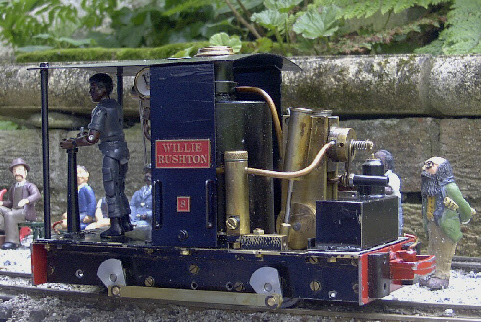
The beast now runs beautifully and is currently my only steam loco. It is happy with my 18" radius return loop despite its 3.75" wheelbase, although it does give the impression of a crab, and will pull anything I can put behind it. The gas burner, however, is still a little temperamental, and will be the object of my next Round Tuit.