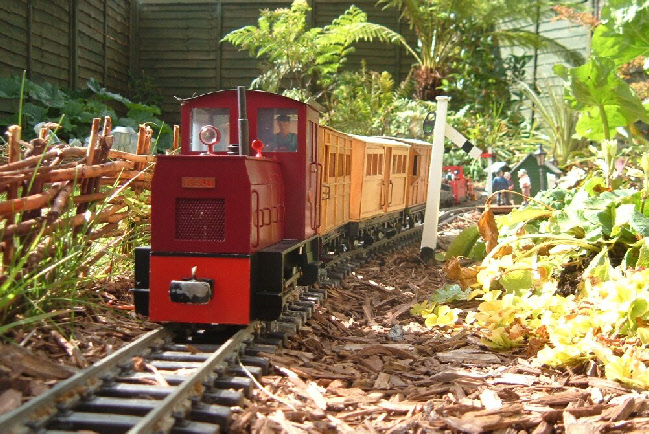
JD Models Hunslet #19 on a Mevagissey-
The Situation
After thirty years in a house in North Bristol with a tiny, sloping, North-
See Real History for the mixture of fact and fiction that inspired the new line.
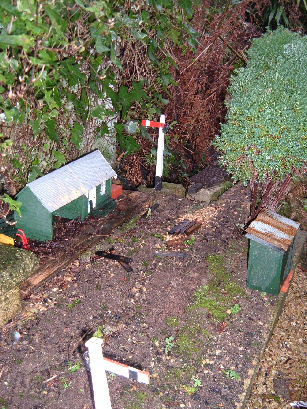
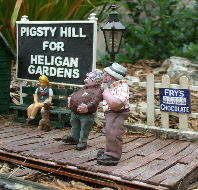
Devastation at Pigsty Hill
A Blank Slate
Even before moving in to the new house, I had measured the site and planned both
garden and railway together. Some garden railways look as if the plants are a necessary
nuisance, added to pacify the Domestic Authorities, while others tiptoe nervously
around the herbaceous border, hoping not to be noticed. Fortunately, my wife Liz
is a railway-
If I may crave the reader's indulgence, I’d like to state some general principles here. I believe that, if possible, and I emphasise ‘if’, the radius on the main line should be no less than four feet (1200mm). Smaller radii should either be concealed decently behind the foliage, or given an industrial/agricultural setting. Peat railways, for example, used radii that would make set track look spacious and, surely, somebody must have modelled the spiral inside the Dublin Guinness Brewery…
If you want a ‘wiggly’ railway, and many of us do, give the railway a reason to wiggle. Nothing looks sillier than a railway winding its way across a featureless plain. In my youth, I recall watching trains from the top of Glastonbury Tor; the Somerset Central main line ran straight as an arrow over the Levels to Highbridge, where it crossed the equally rectilinear Great Western main line. Given a flat garden, the first thing I (or, more accurately, my contractors) did was to excavate a pit for a large pond and to use the spoil to build a couple of hills to act as obstacles around which the line could wiggle.
When Bart Simpson plays with Mr Burns’ model railway, he tells Millhouse in awe-
Which takes me on to my fourth and final principle. Decide whether you want to shunt
your stock and run to a timetable. If you do, you’ll need a raised line that’ll get
higher as you get older and less flexible. If you just want to watch trains, you
can get away with a ground-
Laying the track
The flat part of the garden had been covered with a plastic membrane, slit to allow
planting and topped with wood-
Given that it looks good and runs well, I am minded to leave it like that, possibly
ballasted with smaller wood chippings. With the pine needles from next door’s Leylandii,
it looks just right for a woodland railway. It needs sweeping before each run but,
since it’s all accessible and self-
My next task will be paths and "To the Gardens" signs. Unfortunately, outside work was delayed by the worst June and July that I can ever recall. ‘Flaming June’, indeed!
A familiar figure drives the inaugural train
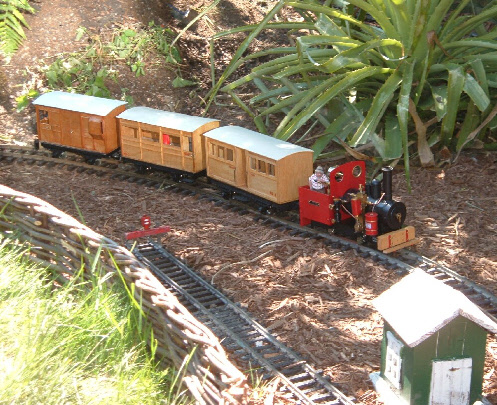
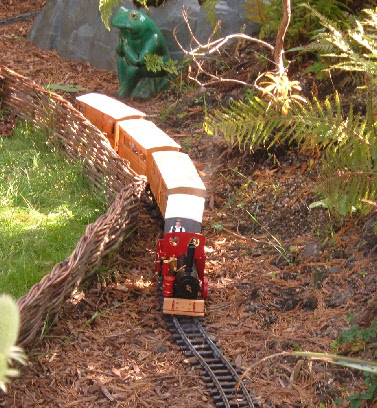
Regner Wilma #18 (later sold) negotiates a wiggly bit around Pigsty Hill itself
Building Pigsty Hill Station
This owes a lot to an ancient article by Bill Cook in ‘Sixteen Millimetre Today’,
the organ of the 16mm NG Association. The platforms are based on three-
I planked the down platform with lolly-
I also made the palings of the platform fencing from lolly sticks, with one rounded end snipped off. These were glued to rails cut from thin wood strips and painted white with car spray. I screwed and glued two ¼" x ¼" hardwood strips to the back of the platform and screwed and glued the fences to the back of these.
Incidentally, it is not necessary to eat several hundred ice-
I made the rude shed from six pieces of thin ply, cut to size with the guillotine and finished with car spray paint. I covered the roof with tinplate from flattened baked bean tins, opened up with tin snips and also cut with the guillotine. Warning – wear rubber gloves; freshly cut tinplate has very sharp edges! I used grey car primer for protection, but the tinplate still rusts most realistically after a few years of British sunshine.
I bodged the seats from lengths of ¼" x ½" and ¼" square wood strip from the local ironmonger. They are designed to be robust rather than elegant, and have lasted well in the steaming jungles of British North Bristol.
The station lights are Hobby’s street lamps, with a similar lamp fitting inside the
booking office. These are fed via wires under the platform from 2 x AA NiMH cells
in the office, but I hope to replace that with the gubbins from a solar garden lamp.
Most of my stock is lighted, and it makes a fine show at night. To my eye, the whole
gives something of the impression of Llanfair Caereinion in pre-
By the way, the figures are by Rob Bennett, of whose talents I am insanely jealous.
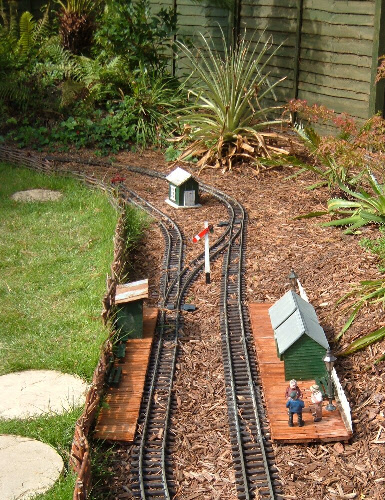
An aerial view of the station with Pigsty Hill behind
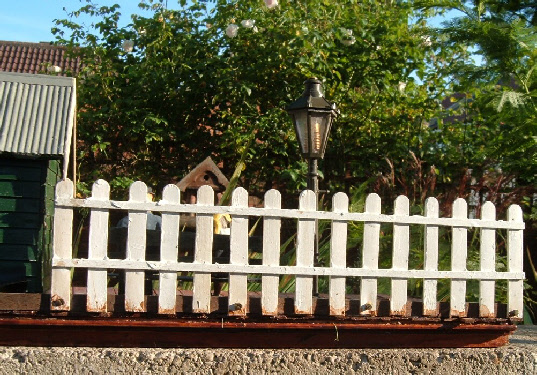
How the fence is attached. This is the view the passengers DON’T see
For images from this period see:
The PHLR Mark V -
NOTE: This page is based on an article I wrote for Garden Rail magazine. See Garden Rail Index to find my articles


The Pigsty Hill Light Railway -
A New Start